
Achieving Metal Gear Solid 2’s Big Boss Ranking Was a Religious Experience
There are video game-related challenges out there that ask a lot of the player. Some require you to beat the game with restrictive conditions, such as getting to the credits within a certain timeframe or without dying. Some require you to play the game with every single collectable obtained. Some require you to play the Metal Gear Solid games and obtain the highest obtainable ranks.
For some background, I’m a huge Metal Gear fan. I’ve enjoyed these games since I was around 10 years old and have replayed them a lot, but I was never compelled to attempt them on the higher difficulties. The Metal Gear Solid HD Collection launched in 2011 and included MGS2, MGS3 and Peace Walker with brand-new trophy support for each. Neither MGS3 nor Peace Walker had particularly difficult trophies, and I was able to obtain the platinums without much issue. I did not do the same for MGS2 because of its much more difficult requirements, such as completing every single VR mission, of which there are about 500. Another time, maybe.
2023 saw the release of the Metal Gear Solid Master Collection, which once again included MGS2 and MGS3, but included MGS1 instead of Peace Walker. The trophies for MGS2 and MGS3 were largely the same, but with a key difference for each. MGS3 now required the player to obtain the FOXHOUND rank in order to obtain the platinum, which was something I’d never really attempted. For reference, here are the requirements for the rank:
- Beating it on Extreme difficulty
- Beating it under 5 hours
- No alerts
- No kills
- No continues (have to reload a manual save)
- 25 saves or less
- Less than 10 bars of damage taken
Though it might sound daunting, the requirements were actually quite lenient. This was a game I’d already played many times, so I knew what I was doing. It was simply a case of doing it better. I did the whole thing in more or less one sitting with no guides required, and the only real hurdles were the boss fights (screw you The Fury.)
It wasn’t too long after that when I bagged myself the MGS1 platinum too, which cheekily lets you earn top rank by beating the Japanese version, which doesn’t have difficulty settings and is set to Easy by default. After finishing both of the original MSX Metal Gears, I’d nearly completed the whole Master Collection. The only thing standing between me and a fully 100% completed collection was Metal Gear Solid 2.
2 Solid
Remember when I said that the Master Collection trophies had some key differences from the ones in the HD collection? Well, MGS2 potentially had the most drastic change. The VR mission completion trophy was gone, now only requiring you to earn a first-place medal on 50 different missions. Easy. However, the trade-off was having to now beat Metal Gear Solid 2 and earn the coveted Big Boss emblem.
I’d heard horror stories about how it was a Herculean task that required an immense amount of skill from the player, and I was put off. It’s up for debate which version of the game is more difficult to platinum, because some of those VR missions are infamously devilishly difficult, though I’ve never actually personally attempted them myself.
This was a challenge I simply did not believe I could complete, and I resigned myself to having platinumed every Metal Gear Solid game except 2 and 4. However, a nagging feeling had started to take up residence in the dark corner of my brain, a small psychological goblin that ever so subtly continued to hint that I should maybe give MGS2 a go. I resisted it for a while. I wasn’t going to do 2. It’s too difficult and I’m just going to get annoyed. I’m not even going to bother.
That all changed when I decided that I, in fact, would bother, actually. I was going to try and earn the Big Boss rank in Metal Gear Solid 2: Sons of Liberty. What follows is a tale of misery, frustration and sadness, but also an incredibly satisfying mastery of a game with plenty of fun to be had along the way. This is how I became Big Boss.
The Setup
Let’s go over the requirements for the Big Boss rank. You’d be forgiven for assuming that they’re more or less the same as the other games, and for the most part, they are:
- No alerts
- No kills
- No continues
- Under 3 hours
- No radar
- No rations
- Less than 500 damage taken
- Less than 700 shots fired
- 8 saves or less
As you can see, it’s business as usual. However, those last three requirements turn MGS2’s top rank into a much, much stricter experience than what came before. MGS3 lets you make 25 saves. MGS1 allowed eighty. MGS2 only allows you 8, which, assuming you can read numbers, is a drastically lower amount. Extreme difficulty is, as expected, hard. It’s really hard. Not only do bosses do a lot of damage, but the lack of radar means having to be incredibly careful during the stealth sections in between. Each and every save I made had to be meticulously planned.
I would have to reload the game and sit through the startup screen every time I failed because of that “no continues” requirement. I would have to willingly choose which sections of the game I’d have to replay should I fail to make it to the next save. I would inevitably have to go through the same agonising bullshit that would later haunt my dreams. I would have to do it all.
I’ll freely admit that I used video guides for my run. I could have spent even more time committing each room to memory myself, but I opted to accept the guidance of those who have come before and will gladly link to the guides I used to the end. I didn’t follow these guides slavishly, though, and there were multiple portions of the game where I came up with my own strategies and paths that differed from what the guides taught, so I can at least claim to have done some of it myself. I also cheesed a good few of the bosses that allowed me to, and I’d happily do so again.
Part 1: Conflict and Victory Were My Parents
Metal Gear Solid 2 begins with the Tanker section, which involves Snake sneaking about a big old boat. After my many, many runs through this first section, I became intimately familiar with a routine that I could execute flawlessly, which would become a common occurrence throughout this entire playthrough. Because I had no radar, my only way of knowing the positions of enemy guards was to actually look them myself and observe their patterns to quickly move past them.
One of the requirements for reaching Big Boss rank was to complete the game with no alerts, and thankfully, Metal Gear Solid 2 throws the player a much-needed bone here. When a guard spots you, there’s the well-known exclamation mark with its accompanying sound that became synonymous with this franchise.
You may think that a guard spotting you would spell instant doom for your attempt and an immediate restart would be prompted. Fortunately, this does not count as an alert straight away. You see, when a guard spots you, they will retreat and pull out their radio to contact HQ and report in. If they’re able to do this, an alarm sound will ring out, and that is what actually causes the alert that counts against you.
If an enemy guard spots you, but you’re able to either incapacitate them or leave the area before they’re able to report it, that alert counter will remain comfortably at 0. For the sake of speed and ease, this meant that many of the areas I would go through simply involved me making a beeline for the exit and rolling through guards who were none the wiser.
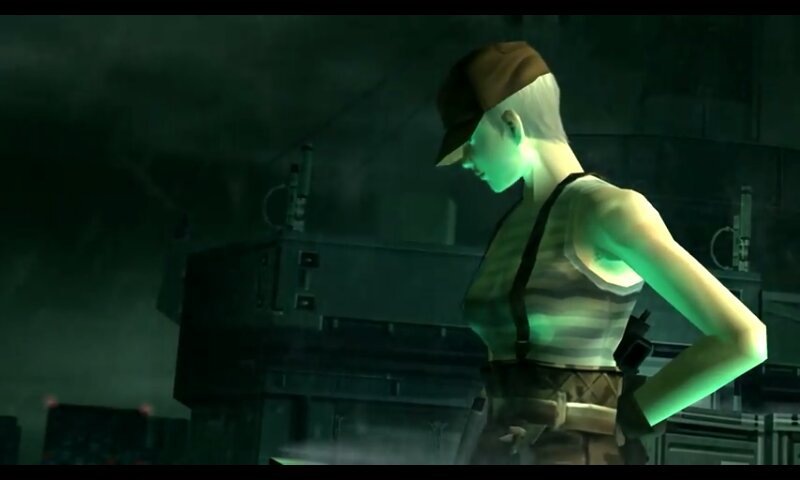
With the exception of one camera that required quite a precise roll past it, sneaking through the Tanker wasn’t that difficult. Though perhaps I’m only saying that because of how many times I had to do it, so by the time I finished it successfully, I could do it in my sleep. Its twisty, cramped corridors are controlled by not only patrolling guards, but surveillance cameras too. A combination of these made certain rooms a bit of a pain to get through, not only on the Tanker but later on in Big Shell, too. After a successful infiltration of the ship’s bridge, the game’s first boss finally confronted me: Olga Gurlukovich.
OLGA
As per Metal Gear Solid tradition, the first boss fight of the game is a straight-up shootout. The MGS2 bosses, with one exception, follow a pattern that can be learned, and in some instances, exploited. If one doesn’t wish to fight Olga the old-fashioned way, there’s an exceptionally useful cheese method that allows her to be manipulated into standing in a specific position where she can simply be shot over and over again without being able to retaliate once.
Though this method is extremely handy at beating her without much trouble, it’s worth mentioning that it does require you to crouch in a very specific spot in the arena and aim at her through a gap quickly. If you can’t get yourself to the exact spot and pop her in a short space of time, then the fight can go South at a moment’s notice. The fight features short, unskippable cutscenes of Olga talking to Snake as they clash, and I had to hear these again and again. Yes, Olga. I am very aware of the fact that you grew up on the battlefield and that conflict and victory were your parents.
Defeating Olga allows you to do the second half of the Tanker, which involves sneaking back about half of the way you came and descending into the engine room. None of this was particularly difficult, but I should also mention here that I was not planning on making any saves at all on the ship. My precious 8 saves were reserved for the spots on the Big Shell where I would really need them, so the whole thing had to be done in one go.
This meant that every time I failed, not only would I have to beat Olga again, but I would have to go back to the main menu and go through the process of starting a new game, choosing the difficulty, setting my details and then skipping through all of the intro sequences. Sounds like a pain, right? Unfortunately, there was a specific part of the Tanker coming up that would indeed cause me to endure this seemingly endless loop of starting a new game, going through the Tanker and then dying to do it all again.
Bullet Hell
As Snake makes his way through the corridors after the engine room, he’s ambushed by a group of guards and a forced combat section begins. Because this is Extreme difficulty, bullets really hurt, and this encounter involves many of them being fired in a tightly enclosed space. This section of the game, dubbed the ‘Guard Rush‘, feels like a boss itself and takes some serious gumption in quickly aiming, shooting and ducking behind cover while being assaulted by multiple enemies ahead of you.
As expected, I died here multiple times. Because I had to clear the Tanker in one go, every attempt saw me doing the entire thing up to this point. At some point, I decided to simply forgo any notion of a clean run for a while and hit the continue button on death so I could practice the fight until I could do it consistently. This decision proved fruitful as I was eventually able to formulate a somewhat consistent method of passing the Guard Rush.
I would crouch down behind a crate and aim my gun at the positions I knew to be occupied by the guards, and routinely tap the X button to quickly alternate between a standing and crouching position until my laser sight would happen to line up with an enemy, at which point I’d make the shot.
This tactic worked wonderfully, and eventually I was able to get past the Guard Rush. Yay! Happy with this progress, I proceeded to the next sequence, which involved taking photos of Metal Gear RAY. The end of the Tanker section was in sight, and I would finally be able to make my first save. Unfortunately, I accidentally walked into one of the (very easy to avoid) Marines in the room and got spotted. Oh dear.
After doing the whole Tanker sequence up to that point again (did you know what conflict and victory were Olga’s parents?) I succeeded in getting past the Guard Rush once more without too much of an issue and took the damn photos of RAY that I’d come here for in the first place. Awesome. After skipping a few cutscenes and codec calls, I was finally able to make Save 1 as the Plant chapter began. Goodbye ship, helloooo Big Shell. However, that sigh of relief would eventually turn into a different sigh, a sigh of sadness. A sigh of woe. A sigh of ‘I’m tired and this is an actual sigh.’
Part 2: Bombs Away
I was all too pleased with the thought of not having to start a new game every time I failed this time. Though I knew for an absolute certainty I’d still be resetting a lot, I was thankful I’d no longer have to redo the entire startup sequence and Tanker every time. It was a small, personal victory, and it was these small victorious milestones that I would cherish as I plodded my way through Extreme. Oh, how I would plod.
From Save 1, I would begin my journey through Big Shell’s struts (labelled A-F) and connecting bridges, becoming all-too familiar with the movement pattern and line of sight of every single guard there. I didn’t have a gun at the start, which meant I had to either avoid guards entirely by sneaking past them or by simply punching them in the bum for an instant knock out. I could have made things a bit easier for myself by going out of my way to Strut F to quickly grab the tranquilliser gun, but for whatever reason, that’s only something that occurred to me much later in the run, by which point I had, of course, already obtained the gun.
After making my way to Strut C, a somewhat lengthy bomb disposal sequence began which involved using a special sensor to locate a bomb (sometimes bombs) in each strut and deactivate it with a coolant spray. Thanks to the guides I followed and also just a good old bit of muscle memory this was a relatively painless experience that didn’t take too long to do. Extreme has a lot more bombs compared to the lower difficulties, and some of them are hidden in tricky places. Especially in Strut E.
The new bomb in Strut E was an absolute nightmare to defuse because someone at Konami had the great idea of placing the bomb on one of the many crates moving about on the conveyor belts throughout the room. Having to quickly take out all the guards and cameras, locate the bomb and defuse it all in succession before the sleeping guards not only wake up but also cause more guards to come check up on them because they didn’t report in proved to be a tricky little rascal of a task.
Yet I persevered by brute forcing my way through by leaving the room multiple times until I got the bomb in the exact right spot to freeze it. What fun. Ten out of ten.
Miss Fortune Strikes: Big Man Appears on Big Shell
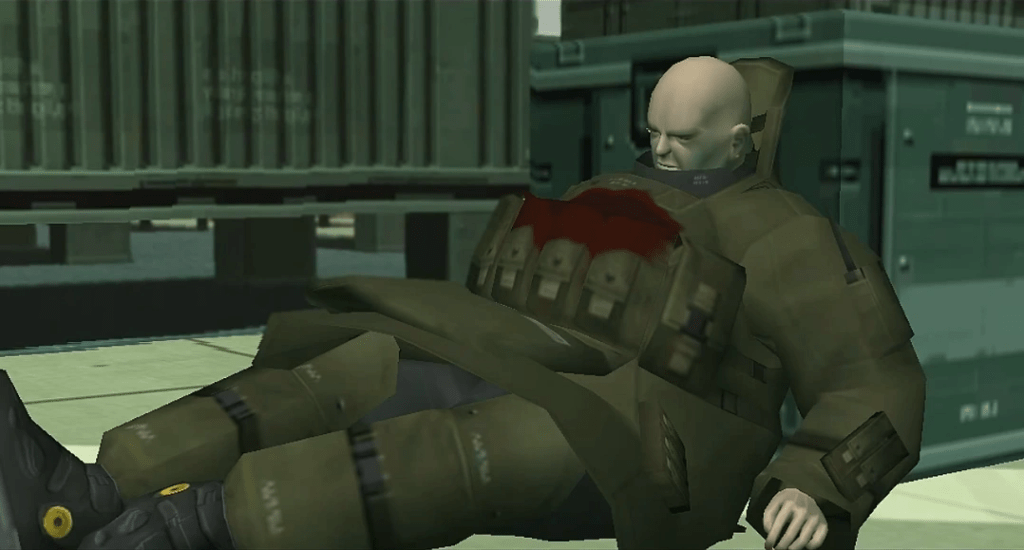
When all of the bombs were defused, I had to face the first ‘boss’ of Big Shell, Fortune. Fortune, fortunately, was easy. If you equip a box and simply run left to right at the bottom of the room, you can just dodge all of her shots. All you need to do is keep doing this until the fight ends, and you can move on, easy peasy. However, shortly after Fortune was the REAL first boss of Big Shell, Fatman. Because I didn’t wish to do all of that again in case I failed against Fatman, I made Save 2 here.
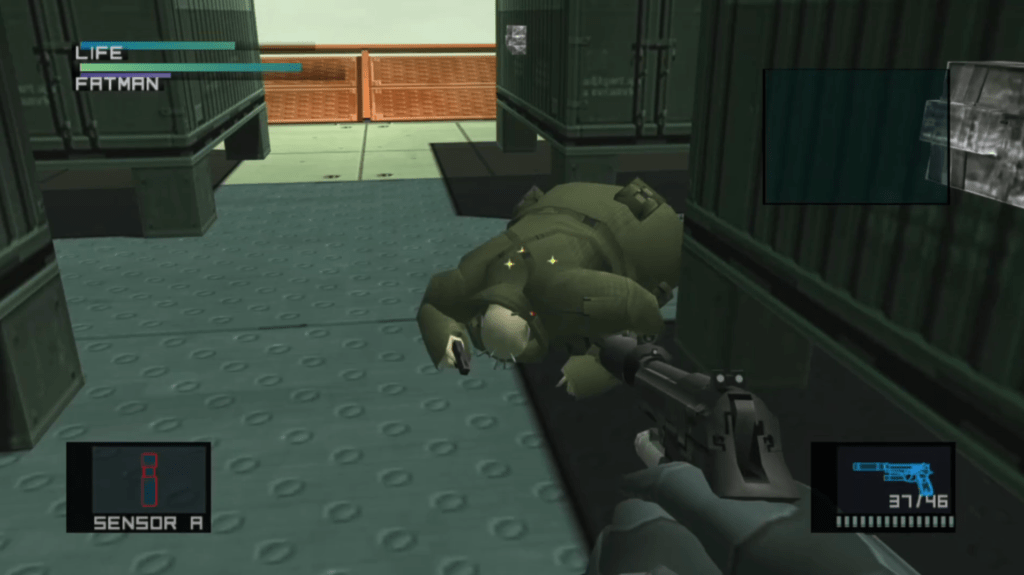
Fatman is something of an anomaly when it comes to the bosses of Metal Gear Solid 2. While they’re all at least difficult, each of them tends to have a pattern you can learn and then work with. Fatman feels like the exact opposite of what I just described, and it’s the randomness of his encounter that makes him difficult. The fight always starts off the same way, with him planting two bombs that need to be defused, followed by a chance to knock him down early.
What follows afterwards is a tense, Looney Tunes-esque farce of chasing after him and trying to shoot him before he can stop to plant even more bombs that must be defused. Due to the lack of radar, he can be quite difficult to track if you lose sight of him, and the limited amount of ammo your guns have on Extreme means having to go and pick up the respawning ammo boxes in the arena.
Fatman seems to just skate around wherever he damn well pleases, and losing sight of him allows him time to plant more bombs, which can easily overwhelm you if you let them pile up. While I wouldn’t exactly describe this fight as easy, I didn’t spend as long on it as I thought I would have, which I’ll just chalk up to having an incredibly lucky run where I kept up with him and his route took him right past the ammo boxes to keep up the pressure and eventually take the fat man down.
The thought of having to beat him again did not particularly entice me, so I decided to make Save 3 here following my victory. I had five saves left, and I had inched ever so closer to the end. Little did I know that the worst was yet to come.
Part 3: Pain, Through the Lens of a Scope
Following my victory against Fatman, I had quite a bit to do before my next planned save. The stretch of gameplay here involved me going to Strut F to grab a gun so that I could infiltrate Shell 1 in disguise. When inside Shell 1, I had to grab a microphone, drag a guard over to a retinal scanner to enter a room, search the room for a very specific hostage named Ames amongst quite a few others, and then escape Shell 1 under a mandatory caution. This part right here is where I struggled the most, because exiting Shell 1 involved having to get past multiple guards and a hallway full of cameras.
This was one of those sections of the game where, with the benefit of hindsight, I could have made it a lot easier for myself. Shell 1 has a corridor full of not only guards, but cameras that can spot me and cause an aIert on my escape route out of there. The most efficient way of doing this would have been to simply grab the suppressor for the handgun and quietly shoot all of the cameras during the infiltration, which would render them useless during my escape.
Unfortunately, I had completely forgotten to nab the suppressor and had to contend with the cameras every time and as a result had to rely on Chaff Grenades instead. I tripped up at this part multiple times, and because the location of Ames changes every time, this meant a lot of meandering about the hostage room until I found the right guy. The first time I successfully managed to escape Shell 1, I was immediately spotted by a Cipher drone. Bummer.
Eventual success in leaving Shell 1 led me back to Strut F to grab the sniper rifle. With my arsenal of guns a bit bigger I then had to skidaddle over to the Shell 1-2 connecting bridge for the game’s first sniping section. The one that wouldn’t cause me so much grief.
This part of the game involved having to shoot multiple little control units in order to make the bridge passable. If I didn’t, then the bridge would blow up if I tried to cross it. These control units were hidden all around the place, some were easy to find whilst others took a real bit of nosing around. It wasn’t overly difficult, and I did manage to do it on my first try by taking it slowly. With that out of the way it was time for the Harrier boss fight, and with it I could make Save 4.
This is the point where my run became wonky. From this point onwards, there were so many things that went wrong that I considered giving up. We’ll get there, I promise.
The Harrier fight seemed scary at first. It’s fast, hits hard and destroys half the arena as it goes on. Its rockets can absolutely melt your health if they connect, and standing in the wrong place at the wrong time spells instant doom. I died quite a bit here (of course, I did), but the more I tried, the better I understood the fight.
Unlike the Fatman fight, the Harrier is actually quite easy to keep up with and respond to whatever it throws at you. I reached a point where I could melt away almost 50% of its health within the first minute or so, and it wasn’t long before the Harrier went down. After that was some good old-fashioned obstacle coursing across a destroyed portion of Big Shell and a little bit of cheeky remote missile guiding. Nothing too strenuous, and actually quite relaxed compared to the rest of the game.
1 Vampire, Ha Ha Ha
I was now at the halfway mark of Metal Gear Solid 2 and was actually feeling good about myself. Though I’d struggled a bit on a few key sections, I’d persevered on with a clear goal in mind and knew that I wouldn’t have to repeat any of what I’d already done. Just ahead of me lay the first Vamp fight, which I’ll refer to as Vamp 1. I wasn’t confident going up against Vamp. I’d seen the cheese method (which involves hanging off a ledge and baiting out easily avoidable attacks to get him stuck in a loop), but I hadn’t yet tried it myself, and I didn’t want to fight the Harrier again.
I made Save 5 right here, thinking it was a good idea. Remember at the beginning of this part, when I said my run became wonky? Well, here’s where the wonk begins. As it turns out, Vamp is actually incredibly easy with the cheese method. He’s actually the easiest boss of the game with the cheese, not counting Fortune. I didn’t know that at the time I’d made my save, however, so after defeating Vamp (Plot twist: he soon returns and makes my life a misery), I carried on.
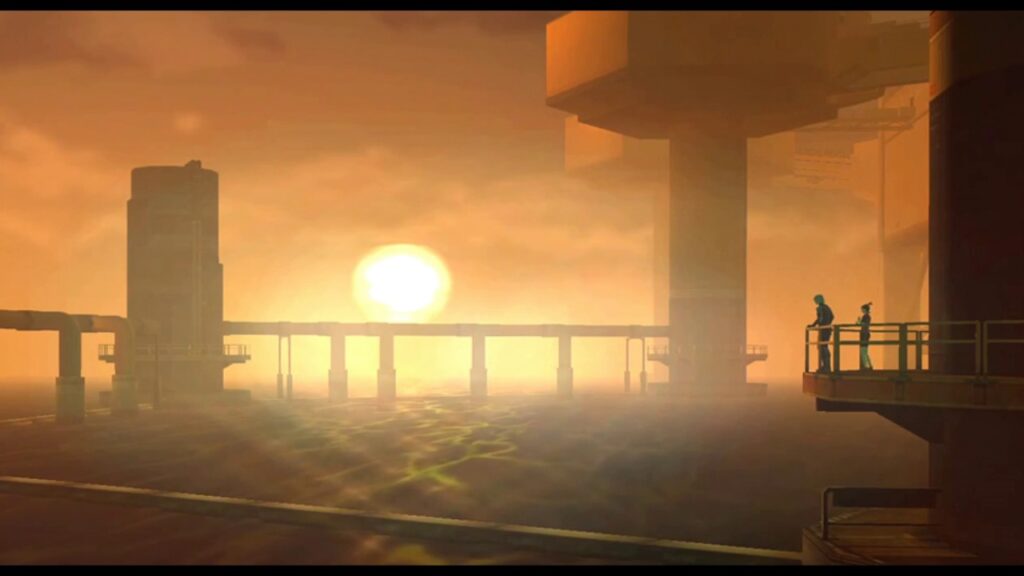
My plan was to make Save 6 right as I got to Arsenal Gear a bit later. I knew that part of the game would truly crank up the difficulty, so I had to get there and firmly plonk my sixth save. However, getting there involved even more hurdles. MGS2 was a PS2 game, and like most PS2 games, it included the almost obligatory swimming section. Thankfully, MGS2’s swimming controls were no issue, and the process of swimming to the next area wasn’t a problem at all. The real problems began as soon as I met Emma, also known as E.E. Upon meeting E.E, my absolute least favourite part of MGS2 would begin: The Escort Mission.
On paper, the E.E Escort part of MGS2 isn’t that bad. You have to escort E.E through multiple areas until you reach the end, which involves swimming back the way you came (E.E having a drastically lower O2 gauge that requires more stops for air), going through some rooms with guards patrolling, and then finally a lengthy sniping section.
It’s difficult to articulate exactly how much I dislike this part of the game. Raiden must stay in one location whilst E.E slowly makes her way across the oil fence alone, covering her with the sniper rifle. Along the way, there are claymores to destroy, guards to pop in the head, and floating drones to blow up. If E.E hits a claymore, it’s an instant game over, and the guards and drones are very happy to pump her full of lead should she get spotted. The section boils down to watching E.E as she makes her way to the end, taking care of any threats that pop up along the way.
After a while, the pattern of guard and cipher appearances becomes recognisable, and it becomes simple enough to take care of methodically. The problem here is that I absolutely cannot stand the sniping in Metal Gear Solid 2. Whilst looking through the scope, you can use either the D-Pad or stick to look around, but the movement here doesn’t feel smooth.
It seems like every time you try to gently nudge the scope in another direction, it will instead jump slightly in that direction rather than slowly move towards it. This can make trying to shoot things in very specific locations a bit of a nightmare because you’re zoomed in, trying to line up your shot, and simply cannot get it right because the damn reticle is jumping all over the damn place. You kind of just need to fumble about until you’re lined up. Was it a skill issue? Are the sniping controls perfectly fine and I’m just terrible? Perhaps.


Post Comment